FLUX–Bafang Stator InstallationUpdated a month ago
Guidelines, Required Tools, and Procedure for Replacing the Stator on the Bafang Rear Hub Motor Used on the Pure Cycles FLUX E-Bike
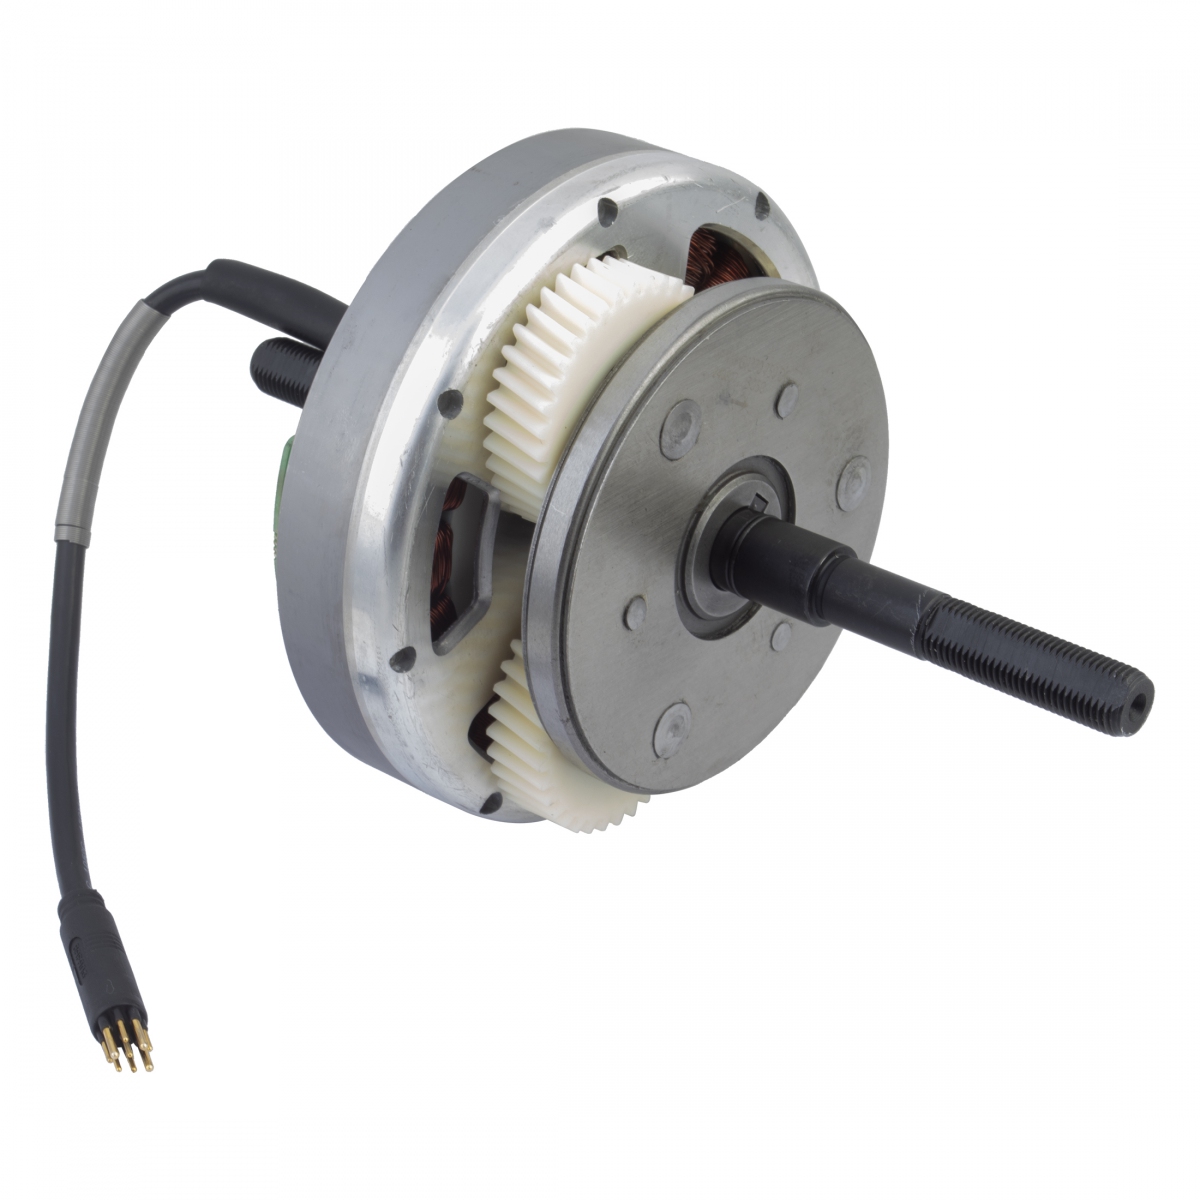
The following procedure outlines the recommended steps and required tools for removing and replacing the stator assembly on the Bafang rear hub motor used on the Pure Cycles FLUX E-Bike. Care should be taken throughout the process to avoid damage to the motor components, axle threads, wiring, and sealing surfaces.
Before beginning service:
- Power off the bike completely
- Remove the battery from the bike
- Work in a clean, organized service area
- Protect all motor wiring and connectors during service
Recommended Tools:
- T-20 tamper-resistant Torx bit or wrench (hollow-center type required)
- T-25 Torx bit or wrench
- Park Tool FR-1.3 freewheel remover tool (optional)
- Park Tool HMR-8 hammer or other non-marring hammer
- Park Tool ATD-1.2 Adjustable Torque Driver or similar capable of low Nm settings
- Clean shop towels
Removal Procedure
- Remove the wheel from the bike
- Remove the following axle hardware
- Both axle nuts
- flat washers
- Both non-turn washers
- Freewheel spacer washer
- Remove the freewheel (optional)
- Remove using a Park Tool FR- 1.3 freewheel remover tool
- Remove the brake rotor:
- Remove the six (6) rotor bolts with a T-25 Torx bit or wrench
- remove the rotor from the hub
- Remove the hub motor cover bolts
- Remove the six (6) bolts using a T-20 tamper-resistant Torx bit or wrench
- Note the T-20 Torx tool must have a hollow center to properly engage the tamper-resistant bolts used on Bafang motors
- Remove th stator assembly:
- From the drive side, lightly tap the axle with a non-marring hammer to separate the stator from the hub shell
- Protect the axle threads during removal to prevent thread damage
- Carefully separate the stator from the hub shell
- Remove the cover plate from the original stator assembly
Installation Procedure
- Install the original motor cover plate onto the replacement stator assembly.
- Insert the new stator into the hub shell
- Carefully align the cover plate holes with the hub shell holes
- Ensure the cover plate is fully seated into the hub shell with no visible gap
- Reinstall the six (6) cover plate bolts:
- Use a T-20 tamper-resistant Torx bit or wrench
- Tighten bolts evenly in a cross pattern
- Torque specification: 4 Nm
- Reinstall the brake rotor:
- Install the six (6) rotor bolts using a T25 Torx wrench
- Torque specification: 4 Nm
- Reinstall the freewheel
- Reinstall axle hardware in the following order:
- Freewheel spacer washer (drive side)
- Both non-turn washers
- Flat washer (non-drive side)
- Both axle locknuts
- Re-install the wheel to the bike